So progress has been made on the foredeck hatch. There is still some hardware to attach & final cleanup & paint, but in case anyone is contemplating this job, here is what I did with our hatch.
I started by laying up some reinforcement on the back: two layers of butted 1708 biaxial tape (with sewn mat), 7" (18cm) wide, using epoxy resin. Seams were alternated to maximize strength. 45 degree biax adds lots of stiffness, strength, and creates a thicker layup to accept heavy plexiglass. The hinge recesses were filled solid with thickened epoxy.
 biax
biax by
Robert Mcgovern, on Flickr
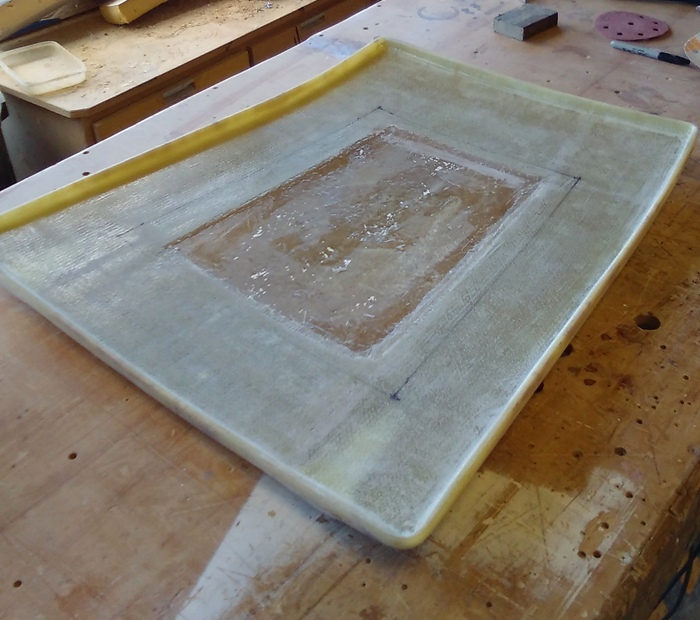
Then I flipped the hatch over, ground off the texture, and draped the whole top surface with one layer of 10oz cloth. This is mostly to create a nice surface. Our hatch had a number of voids or bubbles around the rim, which needed filling before the 10oz cloth was laid.
Next, I made a slab of 'G10' about 5mm thick: four layers of 1208 biaxial cloth with one layer of 10oz fabric on both faces, all laid up in one go.
 g10
g10 by
Robert Mcgovern, on Flickr
When trimmed, the outside dimensions are about 6cm larger than the intended acrylic lens on both axes. I bought some medium grey 'smoked' acrylic ~3/8" (9mm) thick and cut it to the trapezoidal shape, leaving about 5-5.5" (13cm) of FRP all around. We probably could have removed more FRP than we did, for even more light, but I wanted the hatch to be stiff and strong. It is a big hatch, and prone to twisting! Since the Ballad hatch is curved in both directions, and because you can't really flex 9mm acrylic that much, I had to thermoform it. This is easier than it sounds: just remove the protective film from the acrylic and heat it slowly to 310-325F (163C), and it will form to any shape you like:
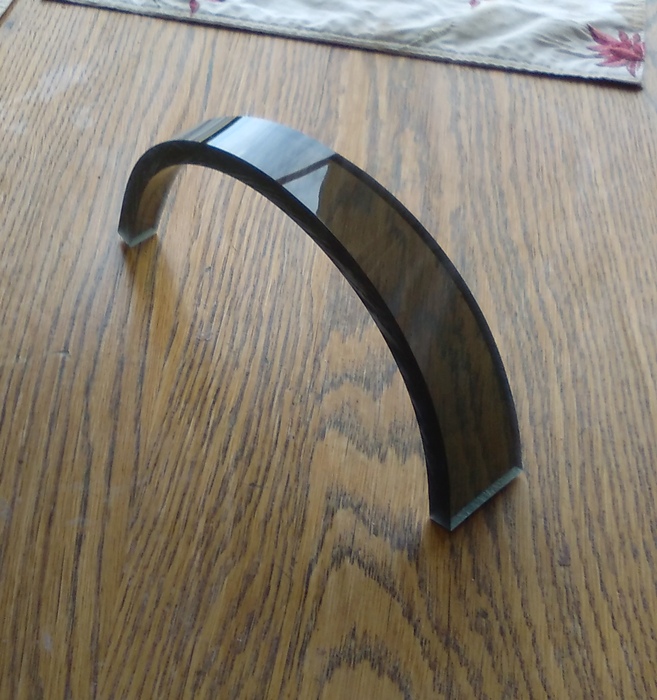 bend
bend by
Robert Mcgovern, on Flickr
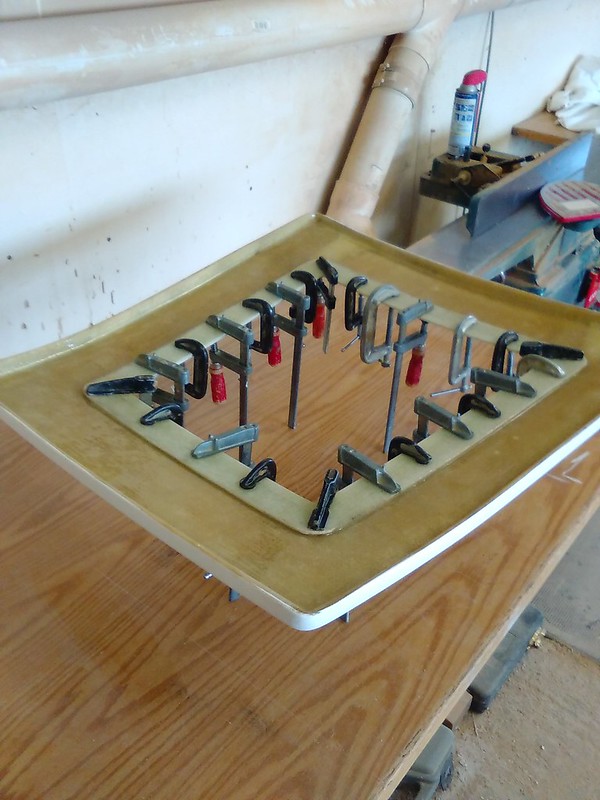
I used the cleaned-up hatch itself as the mold, with soft cotton cloth (felt is better!) under and above the lens. Line up the hot acrylic in the right place, cover with blanket, and clamp it lightly for an hour, until it cools. You will get some springback, but not too much.
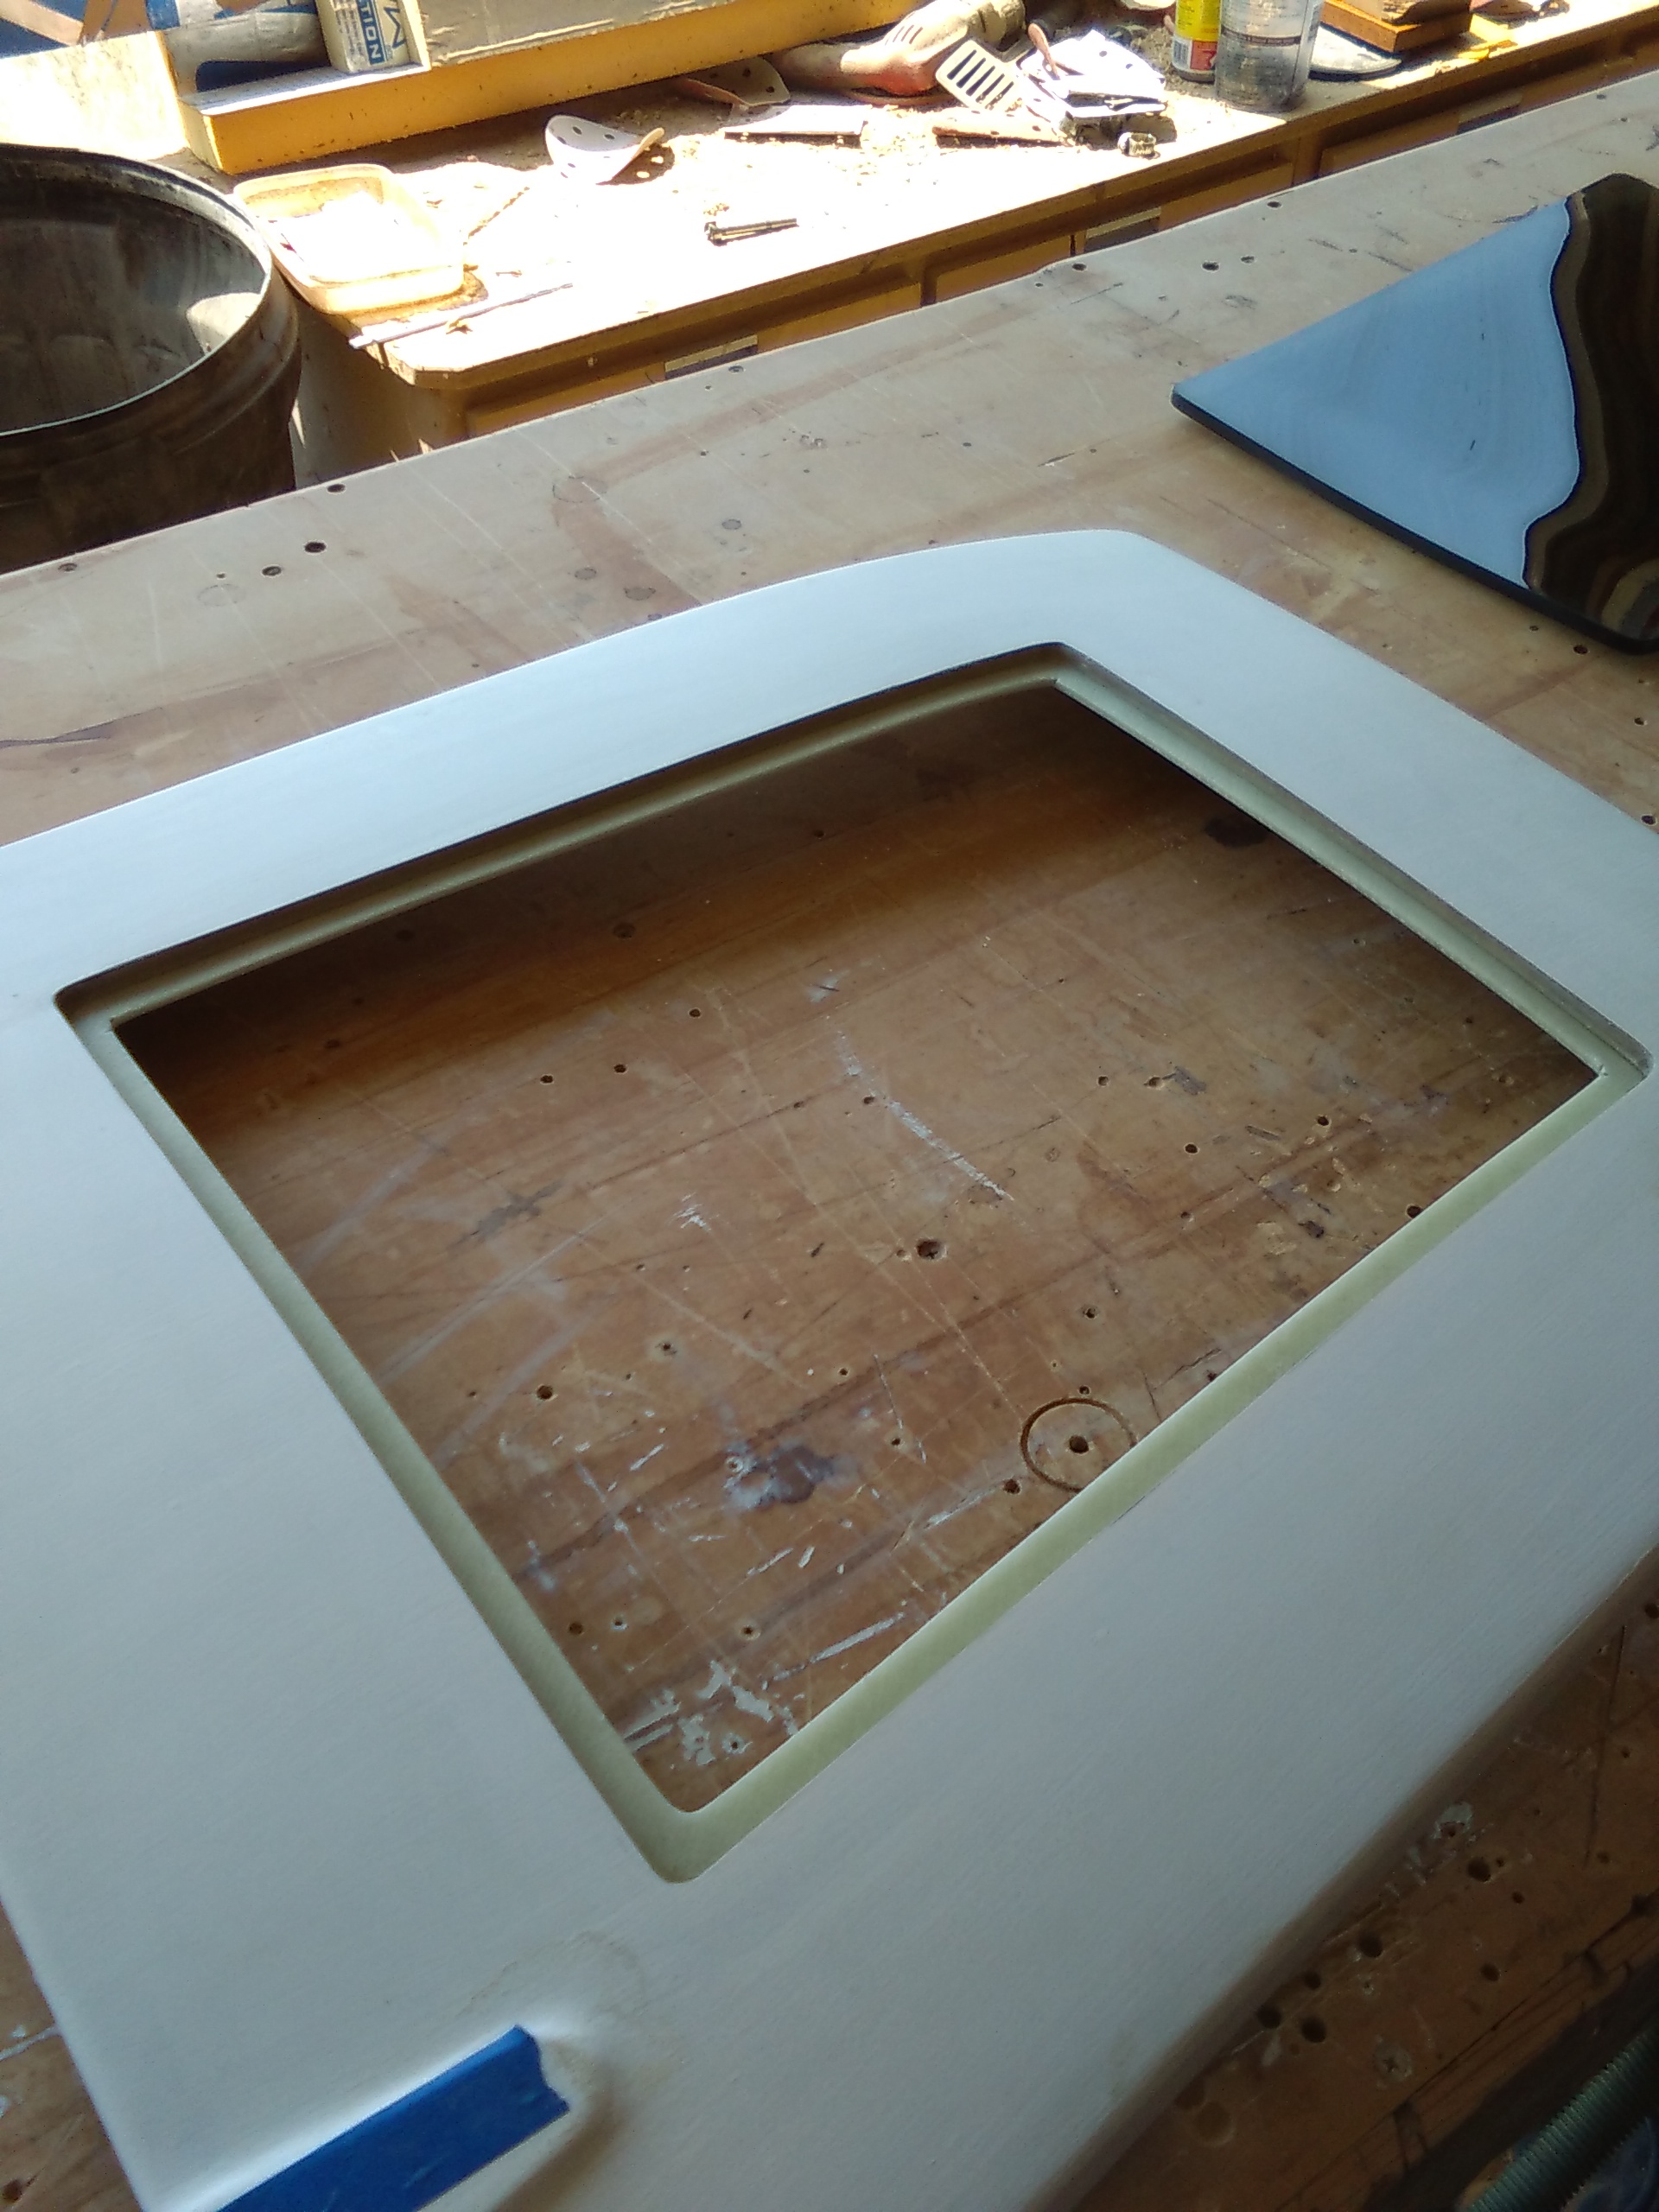
Now, using the bent lens as a pattern, I traced and cut out the hole in the hatch itself. Cut the hatch hole ~2mm larger than the lens all around, for thermal expansion. Then I cut out the middle of the G10 slab, such that about 1" (2.5cm) was glue surface and 1.5cm projected into the cutout, to create a ledge for the acrylic to rest on.
 KIMG0204
 by
Robert Mcgovern, on Flickr
 KIMG0206
 by
Robert Mcgovern, on Flickr
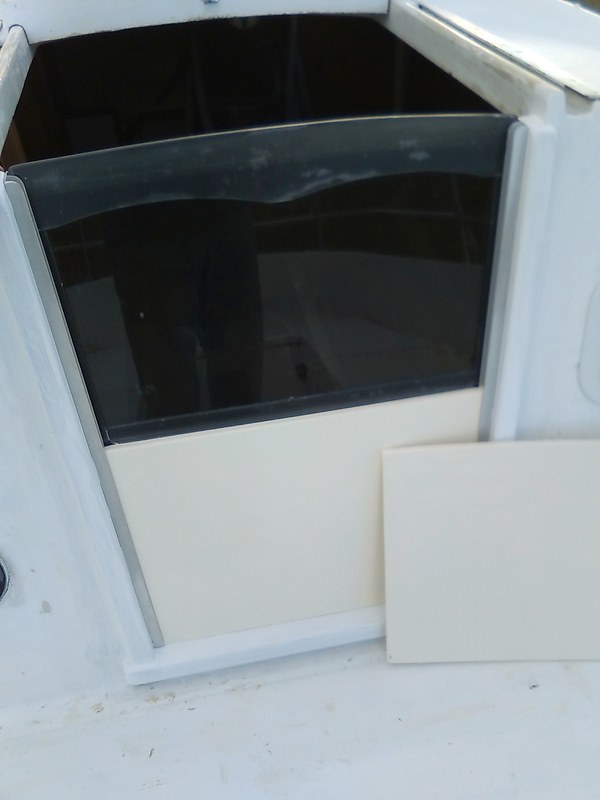
This G10 ledger was epoxied to the back. You could use silicone adhesive to mount the lens, but I decided to use VHB tape from 3M, which was created for structural glazing and is very, very strong. Advantages of tape over goop is no squeezeout mess, and instant bond, with no clamping time. You can put the hatch into service immediately.
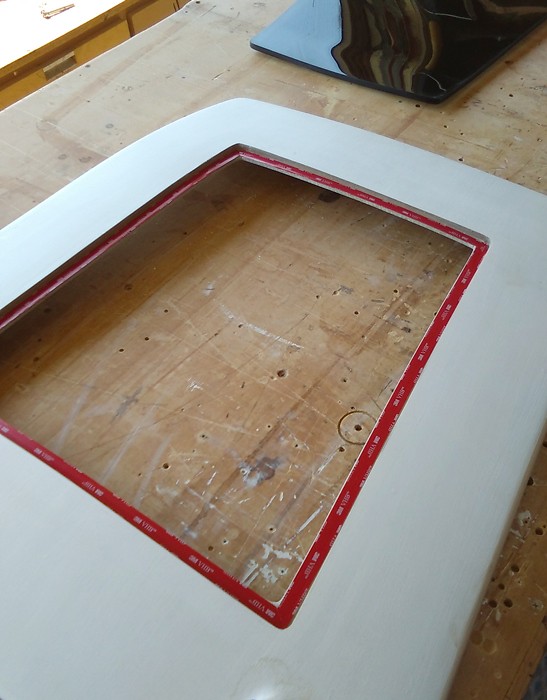 KIMG0207
 by
Robert Mcgovern, on Flickr
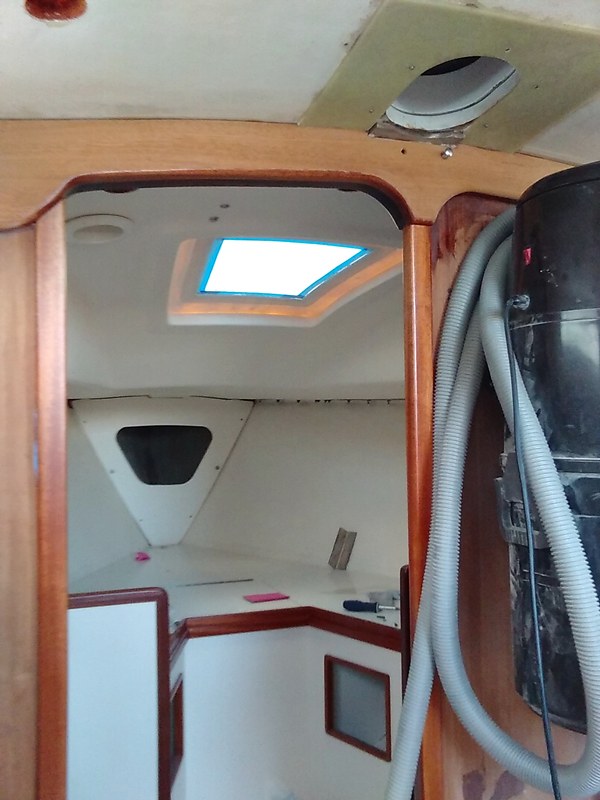
Then I pumped the expansion gap full of black Dow 795 silicone glazing sealant, and immediately peeled the blue masking tape off, leaving a fairly neat caulk line:
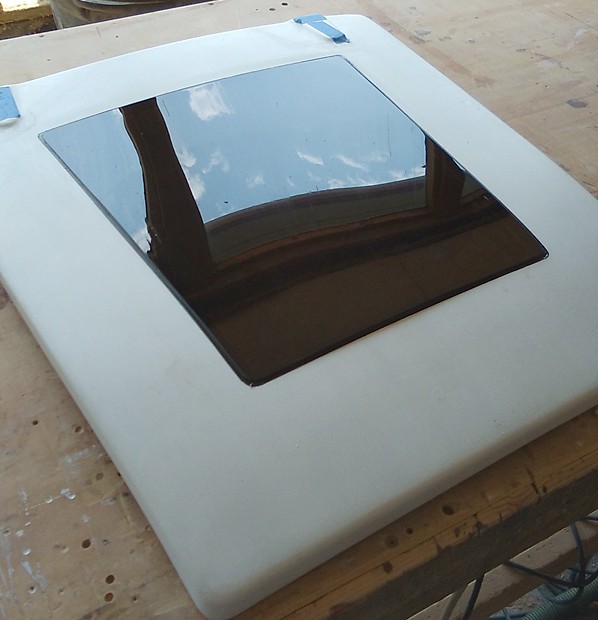 lens in
 by
Robert Mcgovern, on Flickr
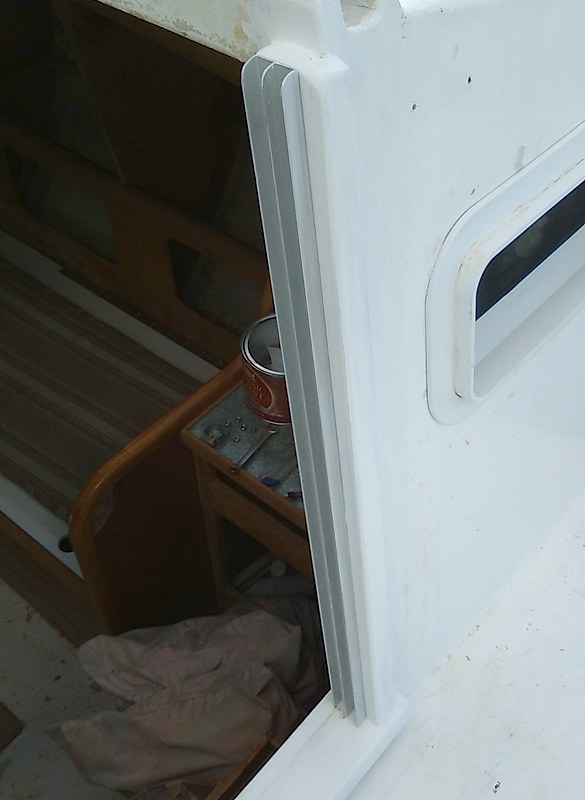
The hatch is ready to go! Total cost for this job was perhaps $110 USD, though I still need to purchase some friction supports and new gasket material. I bought extra acrylic and used it to make new companionway hatch boards.